 Broker Workstation Properties
Broker Workstation Properties
Broker Workstation PropertiesPreferences dialog for "Broker Workstation" contains two sections: Look and Columns.
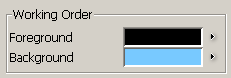
Foreground - the foreground color for working orders. To choose a color press the button from the right side of the field

Background - the background color for working orders
 |
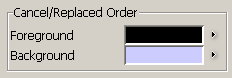
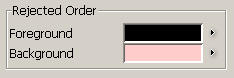
Foreground - the foreground color for cancel/replaced orders. To choose a color press the button from the right side of the field
Background - the background color for cancel/replaced orders
 |
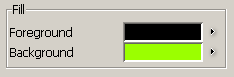
Foreground - the foreground color for a fill position. To choose a color press the button from the right side of the field
Background - the background color for a fill position
 |
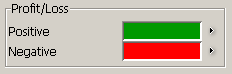
Positive - the color for profit. To choose a color press the button from the right side of the field
Negative - the color for loss
 |
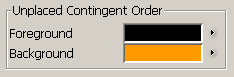
Foreground - the foreground color for an unplaced contingent order. To choose a color press the button from the right side of the
field
Background - the background color for an unplaced contingent order
 |
Foreground - the foreground color for an unplaced contingent order. To choose a color press the button from the right side of the
field
Background - the background color for an unplaced contingent order
 |
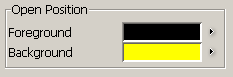
Foreground - the foreground color for an open position. To choose a color press the button from the right side of the field
Background - the background color for an open position
 |
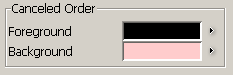
Foreground - the foreground color for canceled orders. To choose a color press the button from the right side of the field
Background - the background color for canceled orders
 |
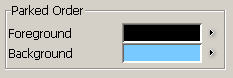
Foreground - the foreground color for the parked order. To choose a color press the button from the right side of the field
Background - the background color for the parked order
 |
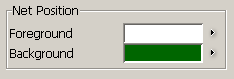
Foreground - the foreground color for a net position. To choose a color press the button from the right side of the field
Background - the background color for a net position
 |
The currency you want the profits to be shown in. It can be selected from a list.
 |
The font size to use in the table. To define the size, press the buttons from the left and right side of the limit fields
 and .
and .
 |
The interval to use in the table. To define the interval, press the buttons from the left and right side of the limit fields
and .
 |

From "Columns" you can choose what columns you want to see in the table. In this section, there are two lists: "Available" and "Displayed":
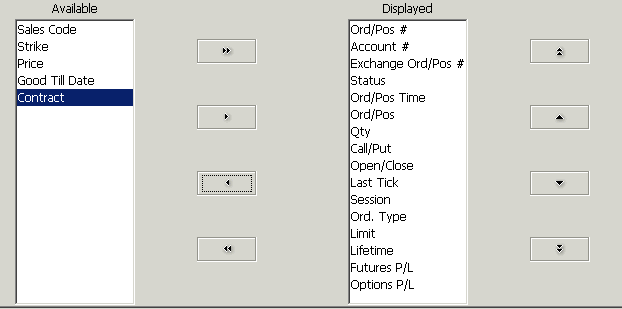 |
In the first section, "Available", are the available columns. These columns will not appear in the table. In the other section, "Displayed", are all the columns that will appear in the table.
To add a column: select the column name from the list of available columns and press
button. The column name will be moved from the list of available items to the
list of selected items.
To remove a column: select the column name from the list of displayed items and press
button. The column name will be moved from the list of displayed items to the
list of available items.
To add all the columns in the list of selected items press
 button. To remove all the columns from the list of displayed items press
 button.
 |
"Apply" button - this will change the previous setting with the actual settings
"Apply to All" button - this will change the previous setting with the actual settings for all existing frames
"Default for New" button - the settings will be set as default for new frames
"Cancel" button - the changes will be ignored