 Advanced Options Properties
|
|
Advanced Options PropertiesThis dialog allows you to customize the look and behavior of your currently-active Advanced Options frame (or all current, even future frames of this type). The options are grouped under eight tabs:
|
Look Underlying Columns Options Columns Fixed Columns Greeks Volatility Skew Order Entry |
|
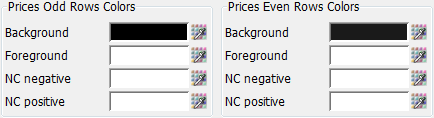
Background - the background color for odd/even rows. Foreground - the text color for odd/even rows. NC negative - the text color of Net Change if it is negative for odd/even rows. NC positive - the text color of Net Change if it is positive for odd/even rows. In order to change any of the colors mentioned above, press the |
|
|
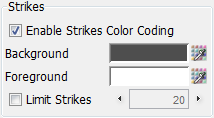
Enable Strikes Color Coding - If this option is not selected the Strike column will have the same colors as the other columns. If you choose this option you can change the following colors by pressing the Background - the background color for Strike cells. Foreground - the text color for strikes. Limit Strikes - If selected, it sets the maximum number of strikes displayed in the table. |
|
|
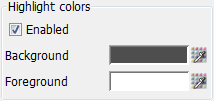
Enabled - If selected, the cells that are updated will be highlighted with the colors selected below. Background - the background color for highlight prices. Foreground - the text color for highlight prices. In order to change any of the colors mentioned above, press the |
|
|
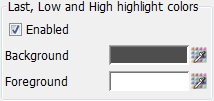
Enabled - If selected, the Last, Low and High prices that are updated will be highlighted with the colors selected below. Background - the background color for highlight Last, Low and High. Foreground - the text color for highlight Last, Low and High. In order to change any of the colors mentioned above, press the |
|
|
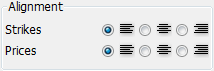
Strikes - the text alignment within their respective cells (left, centered or right), for the Strike Table cells. Prices - the text alignment for all other columns, except those above. |
|
|
From Font you can change the font size. You can also specify if you want bolded fonts or not. |
|
|
Last Foreground like Net Change - If you choose this option, the text color in the Last column will have the same settings as in the Net Change column. Show Side by Side - If you choose this option, the Calls and Puts Tables will appear on the left, and respectively on the right side of the Strike Table. Show Above/Below - Choose this option and the Calls Table will appear above the Puts Table. The Strike Table will be replaced by one Strike column, which will be placed as the leftmost column in both tables. The last two options can also be modified directly from the Advanced Options frame's Status Bar. |

|
|
You can preview in this section the changes you made above. |
|

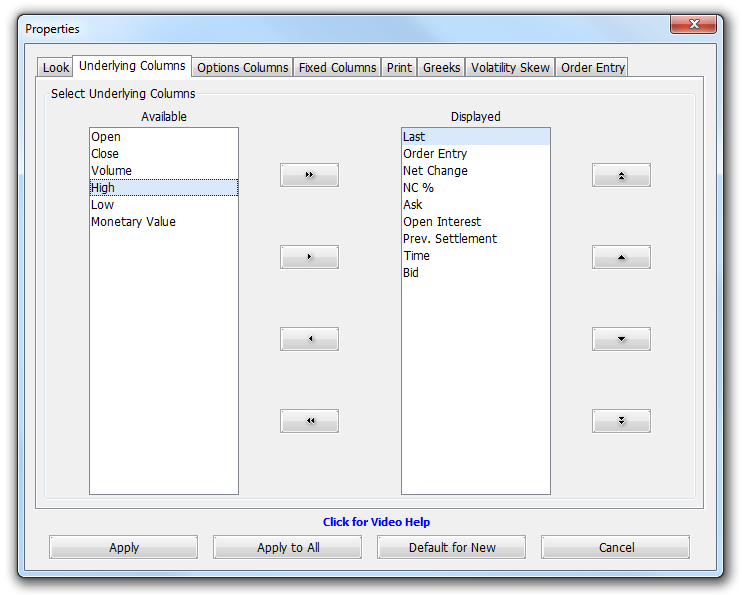
By using this tab you can add/remove columns to your Advanced Options' Futures Table.
This window is divided by two lists: Available, on the left, shows what columns are not included in your Futures Table view; Displayed lists the ones already present in it.
In order to move columns between these lists, first of all select an entry and then use the single left or single right arrow ( ,
,  ). Using the double-arrow buttons (
 ,
,  ), all the entries will be moved accordingly.
Finally, you can rearrange the place of a column in your Futures Table by selecting it with your mouse (from the rightmost list) and then using the vertical arrows ( , ,
, ,  ,
,  ).
).
In order to read more about the columns that can be added to your Advanced Options frame, please click here.
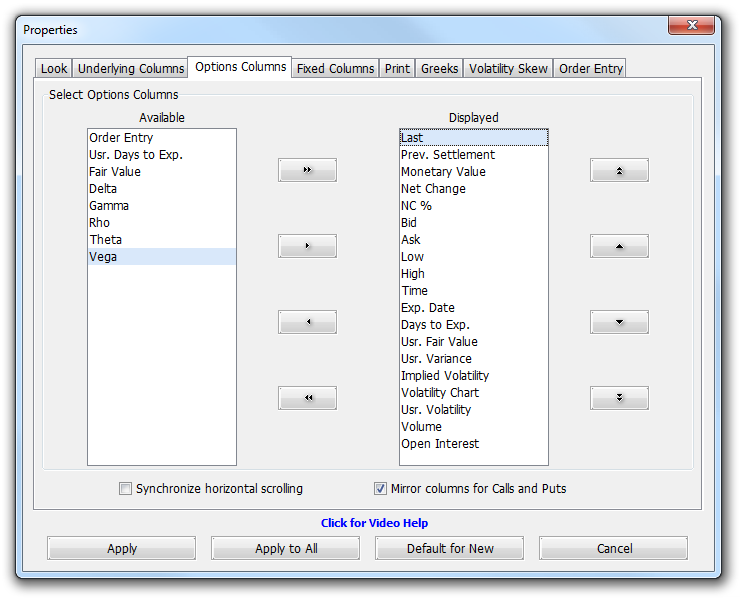
By using this tab you can add/remove columns to your Advanced Options' Calls and Puts Tables. Use the same adjusting techniques that were presented in the precedent tab (Underlying Columns).
There are two more options that can be selected:
Synchronize horizontal scrolling - If this option is selected, scrolling by using the horizontal scrollbar on either the Calls or Puts Table will scroll the other table as well.
Mirror columns for Calls and Puts - If this option is selected, the columns in the Calls and Puts Tables are arranged to mirror each other. For example, if the Calls Table has the Last column as the leftmost column, the Puts Table's rightmost column will be Last as well. When you rearrange the order of columns in one table, the other table will also adjust its columns so that the mirrored aspect is maintained. If this option is not selected, both Calls and Puts Tables will have the same column order by default and rearranging the columns in one table will not affect the column order of the other.
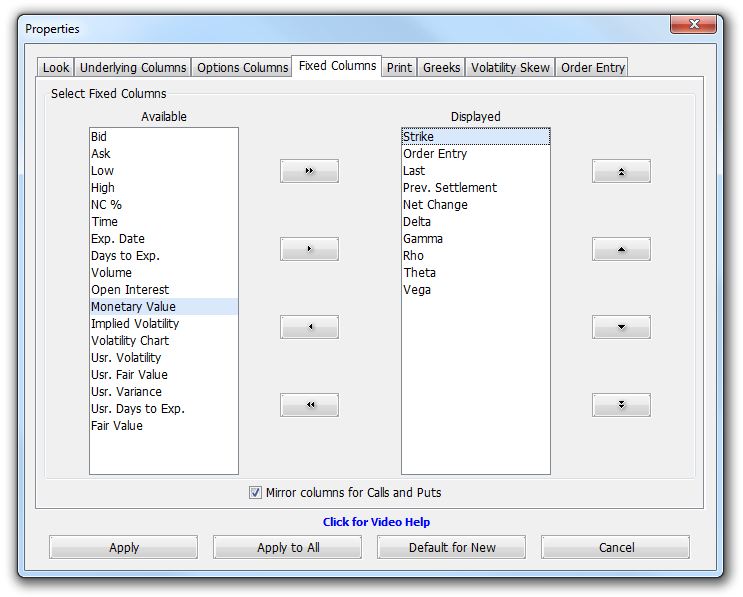
By using this tab you can add/remove columns to your Advanced Options' Strike Table. Use the same adjusting techniques that were presented in a precedent tab (Underlying Columns).
Check the Mirror columns for Calls and Puts option to make the columns on the left and right side of the Strike column to mirror each other. For example, if on the left side (Call) you have the Net Change, Previous Settlement and Last columns, on the right side (Put) you will have Last, Previous Settlement and Net Change columns, in "mirrored" order.
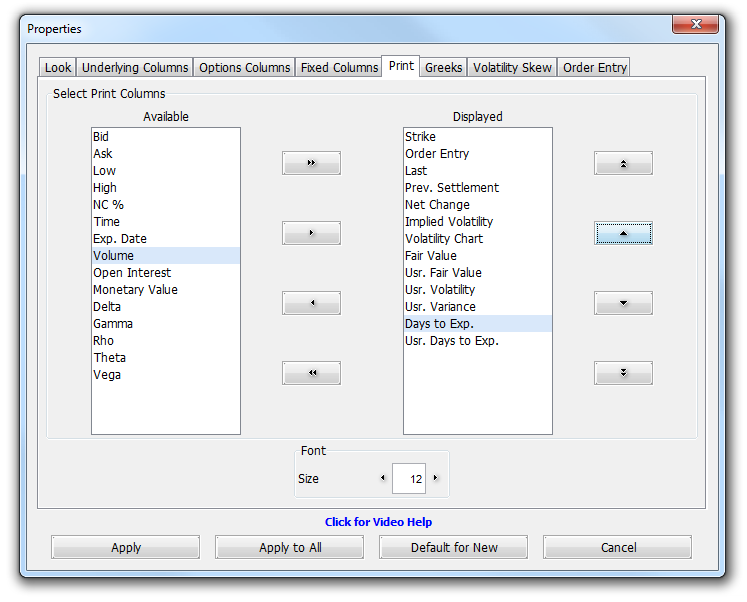
The columns from the Strike Table that will be included in your prints are controlled by here. These can be set independently from the ones in the precedent tab (Fixed Columns); however, the same adjusting techniques will be used here as well.
In the bottom of this dialog, you can also select the Font size for the document that will be printed.
|
Model - Allows you to set the current model used for calculating Greeks, from a pre-populated list of available options. Your currently active option will appear on the lower right corner of your Advanced Options screen, in its Status Bar. Implied Volatility Precision - Allows you to set the number of decimals used for displaying the value in the Implied Volatility column. Update Greeeks Dynamically - If checked, all Greeks columns (Delta, Gamma, Rho, Theta and Vega) will update automatically whenever one of the values in their calculation changes, such as the Last price. If unchecked, you will need to update the greeks manually using the Refresh Greeks button from the Advanced Options Toolbar or pressing the Alt + R key combination. |

|
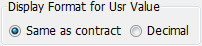
|
Same as contract - When this option is selected, the price from the Fair Value and Usr. Fair Value columns will have the same format as the underlying contract's price format. Decimal - When this option is selected, the price from the Fair Value and Usr. Fair Value columns will always be represented with decimals, regardless of the underlying contract's price format. |
|
|
Use Implied Volatility - When this option is selected, all Greeks (Delta, Gamma, Rho, Theta and Vega) will be calculated based on the value from the Implied Volatility column, which is calculated automatically. Use Usr Volatility - When this option is selected, all Greeks will be calculated based on the value in the Usr. Volatility column, which can be manually entered by the user and can be different from the Implied Volatility. |

|
|
Use Last Trade - The underlying contracts value will always modify based on updates from the Last column. This in turn will modify the value of the Implied Volatility column. Use the Last Trade if newer OR average of the two most recent of last Trade, Bid and Ask - The underlying contracts value will be based on the Last trade whenever possible, and if it doesn't update for a while, the calculation will be based on the average of the two most recent of Last trade, Bid and Ask. |

|
|
Use Last Trade - The options value will always modify based on the Last trade. This in turn will modify the value of the Implied Volatility column. Use the Last Trade if newer OR average of the two most recent of last Trade, Bid and Ask - The Options value will be based on the Last trade whenever possible, and if it doesn't update for a while, the calculation will be based on the average of the two most recent of Last trade, Bid and Ask. |

|
|
Calendar Days (DTE) - The Days to Exp. column will show the exact number of days between the current day and the expiration day of the current option. Trading Days (TDTE) - The Days to Exp. column will ignore the calendar days on which trading is stopped, such as weekends or holidays, and will calculate the remaining days based solely on number of days during which the option is actually traded. Use Dynamic Time Decay - This option allows for a more precise calculation for the DTE or TDTE, as it considers the remaining hours as well. As such, you can have for example 25.5 days instead of 26 days. This can also help you get an idea of how much time is left until the close time of the current session. Ignore Suspend Resume Period - This option is only available if the Use Dynamic Time Decay option is selected as well. If selected, for contracts that have a suspend and resume period, you will see a decrease in the number of DTE or TDTE, as the calculation now ignores the time between the suspend and the resume of the trading session. |

|
|
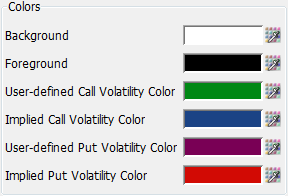
Colors - In this section you can chose colors related to Volatility Skew. Background - The color set as the background for the Volatility Skew frame. Foreground - The font color for the values seen on the X and Y axis of the Volatility Skew graphic. User-defined Call/Put Volatility Color - The colors of the lines representing the User-defined Calls and Puts volatilities on the Volatility Skew graphic. Implied Call/Put Volatility Color - The colors of the lines representing the Implied Calls and Puts volatilities on the Volatility Skew graphic. In order to change any of the colors mentioned above, press the |
|
|
Take snapshots of options data - When checked, the Volatility Skew chart will periodically retain a snapshot image of the volatility evolution, allowing you to compare the current graphics with a previously saved graphic on the Volatility Skew. As long as you have this option checked, and the new snapshots are created regularly, you can press the Play button on the Volatility Skew frame to play a movie of the volatility evolution. The frequency and number of these snapshots are governed by the settings below. Take snapshot of volatility every x seconds - Determines how often a new snapshot should be created, the interval being measured in seconds. Maximal number of snapshots in files - Determines the maximum number of snapshot frames that can be created and saved at a time. Number of days to retain data in files - Determines the number of days for which the Volatility Skew snapshots remain saved on the graphic, before being deleted. This can be helpful if you want to follow the volatility evolution over the course of several days. |

|
|
Display snapshot frames at every x seconds - When you press the Play button on the Volatility Skew, this determines the time delay between each snapshot, allowing you to govern the speed at which the volatility evolution is played out. |

|
|
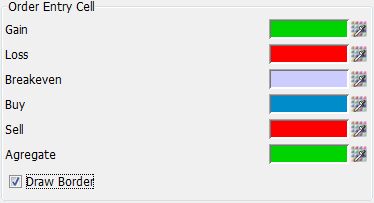
You can set from this tab the color of various elements from the Order Entry cell by pressing the Gain - Determines the color of a profitable position, in other words, when you have a benefit for your position. Loss - Determines the color of a position that you have a deficit for. Breakeven - Determines the color of a position from which the user has no profit and no loss either. Will be seen most often when offsetting a position to bring it to Net 0. Buy - Determines the color of an element representing a Buy order. Sell - Determines the color of an element representing a Sell order. Agregate - Determines the color of an Order Entry element that cumulates multiple orders on both side of the market. Draw Border - When checked, it will create an outline around each Order Entry element, which can help when you have, for example, both orders and positions in the same Order Entry cell. |
|
|
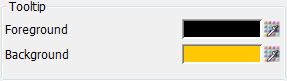
In this section you can choose the Foreground (text) color and the Background color for the tooltip used in the Order Entry column by pressing the |
|
It is important to mention that you have 4 different buttons to select from once you finished making the necessary changes to the Advanced Options frame you invoked the Properties dialog on:

|
Apply - Press if you want to save the changes for the current Advanced Options frame only. Will close the Properties dialog.
Apply to All - Use this button if you want to apply the settings to all your existing (already open) Advanced Options frames, regardless of their location or visibility.
Default for New - The changes you made will be saved as default and applied to all Advanced Options frames you will open in the future.
Cancel - Press this button if you want to revert the changes you made in the Advanced Options Properties dialog.
 button from the right side of the color field.