 Application Properties
|
|
Application PropertiesIn order to open the Properties dialog, you should go to the main menu of the application and select General and Properties or press the Ctrl + P key combination. This dialog is divided into 6 tabs/sections:
|
Desktop Log Streams Layout and Organization Sound Mappings Triggering Market Data Sources |
|
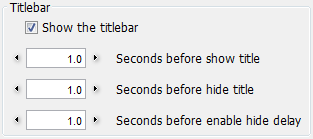
In order to hide/show the titlebar of the internal frames uncheck/check the Show the titlebar option. This property can also be customized for each frame, by pressing the Hide/Show the titlebar buttons. There are 3 more settings that have an effect only on the frames with hidden title bar: Seconds before show title - If the mouse cursor is held on the very top margin of the frame, its title bar will appear. This option sets the number of seconds the mouse cursor needs to stay in that area, until title bar appears. Seconds before hide title – Set the number of seconds for the title bar to remain visible (before being hidden again), after the mouse cursor quits the title bar's area. However, the above value will be ignored (and the title bar hidden immediately after the cursor leaves), unless the cursor is kept over the title bar for at least Seconds before enable hide delay. |
|
|
To explain the concept: when Docking is enabled, the frames in a workspace will interact as - upon resizing one of them - their edges touch. The property with the same name controls how this interaction will manifest in such a context. In order to enable frame docking, go to General, then Enable Docking or press Ctrl + Shift + G. Only one of these options can be active at a time. Move neighbouring frames on active frame resize - When resizing a frame, the frame(s) adjacent to it will be pushed away to allow the new size of your current frame. Resize neighbouring frames on active frame resize - When resizing a frame, the adjacent frame(s) will be resized as well to adjust the new size of your frame, but they will not be moved from their current position (the total space occupied by the docked frames stays the same). |

|
|
If you want to select a template for a workspace each time you create a new one, you should check Show templates dialog for a new workspace. Bring persistent frames to front has the effect of keeping the persistent frames (frames that are visible in all workspaces) on top of the regular frames. Use Local Timestamp - If checked, all contract timestamps will be converted to your local timezone, instead of using the exchange's standard timestamp. Each time you attempt to close an internal frame, by default, you are informed that you will permanently delete the frame and you are asked if you want to continue. In order to disable this warning, please uncheck the Show warning when closing internal frame option. Trim Serial Months - When typing a contract symbol, a tooltip will appear with the available months. This option toggle whether to display serial months only, or all existing months. Only applies to certain contracts. Sort frames in the 'New Frame' dialog - If you check this option, the list of frames will be sorted alphabetically in the New Frame dialog. Otherwise, the frames will be sorted by their "popularity" (as in, most used). |

|
|
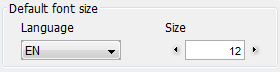
From the Default font size section you can choose a default font size for each language. In order to read more about how to change the language that is used in the application, please click here. |
|
|
This button will open the Desktop Shortcuts Bar dialog, where you can add/remove items to/from the Shortcuts Bar. You can also change the order of it's items, their size or the width of the bar. |

|
|
In order to customize the Status Bar of the application, you need to press the Cutomize Status Bar button. From the Status Bar Preferences dialog, you can select the displayed Status Bar items by using the following options: Show Connected to..., Show OE Status, Show Timer, Show Alarms Status and Show Logo Status (take a look at the image below). If you want to read more about Alarms, please click here. |

|

|
This button will open the Main Toolbar Properties dialog, where you can add/remove items to/from the Application Toolbar. |

|

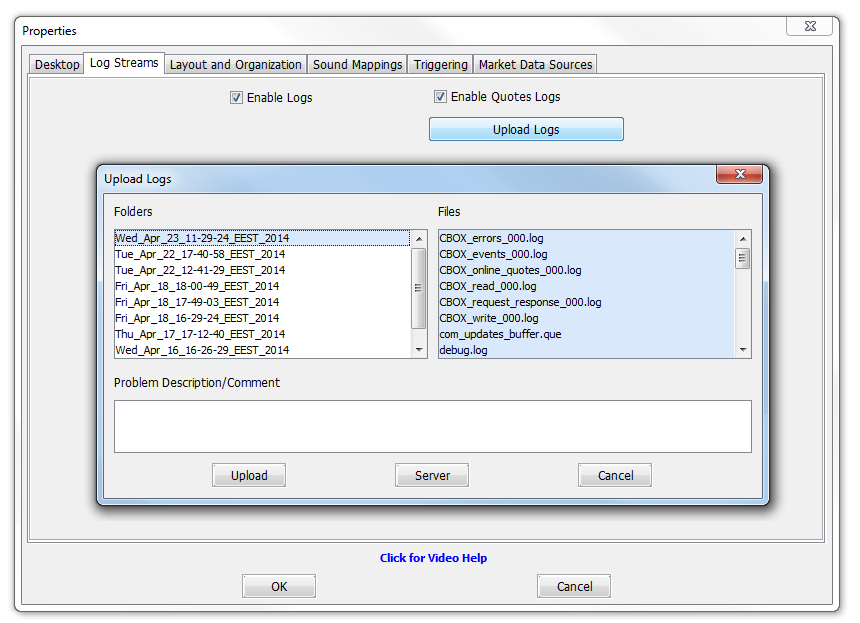
Every time the application is started, if at least one of the log type is active, a new directory will be created in the Logs directory. The name of this directory bears time information, for differentiating between different work sessions. e.g.: Thu_Oct_25_11-34-46_EEST_2012. These logs are runtime records used for tracking down software issues that need to be investigated by our developers.
By selecting the Enable Logs option, you can enable or disable the logging process.
Enable Quotes Logs - When enabled, the application logs all the quotes updates as received from the data-feed servers. Useful for debugging purposes; while unchecking this option will somewhat reduce the hard drive space used for records, we strongly recommend this to be left active, because of the added benefits it offers.
The Upload Logs button will bring you the Upload Logs dialog. If you need to report a problem to our developers, select the login session when the problem occurred from the left side of this dialog, most often leave all the log files from the right side selected, describe the issue in the Problem Description/Comment field and hit the Upload button to submit the files for evaluation. This tool is recommended to be used for sending logs for past working sessions. For issues taking place during the current work session, we recommend using the Tech-Support Screenshot function instead.
|
You can select the (dynamic) Linking Method between the application and Excel (or another similar application, see below) from the following list: Excel RTD (Real Time Data) for Microsoft Office, Calc RTD (Real Time Data) for Open Office or Excel DDE (Dynamic Data Exchange) for Microsoft Office. Excel Update Frequency (requires restart) can be 1/2 sec, 1 sec or 2 sec. For all your live-linked content in Excel, set the frequency at which updates should be sent. Set the Open Office Path by pressing the Browse button before using live linking between Open Office and QST. In order to read more about working with Excel via the application, please click here. |

|
|
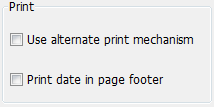
Use alternate print mechanism when you encounter formatting problems with your prints from within the application. Check the Print date in page footer option if you also want to add the current date to the footer of the page. |
|
|
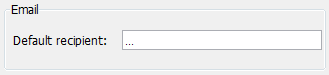
Default recipient - By default, all the e-mail that are being sent from within the application, are sent to the e-mail account associated with your QST account (when it was opened). However, you can overwrite this setting. This way, the Send Email function from Charts, Options Chain, Advanced Options and News as well as the notifications sent from the Quotes Monitor will use the custom e-mail address you specified here. |
|
|
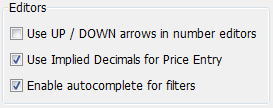
Use UP / DOWN arrows in number editors - Throughout the application, you will encounter number editors in several places (for purposes as: adjusting property values, order prices, etc.). If checked, this will allow you to use the UP / DOWN arrows from your keyboard to increase / decrease the numeric values, instead of having to click on the arrow buttons. In this section you can enable or disable the Use Implied Decimals for Price Entry check box. When enabled, the user can enter a price without specifying the decimals, such as 143525 for the ESH12 contract and the 1435.25 price will be implied automatically by the application. Enable autocomplete for filters - This master option will enable assistance (completion suggestion) in all modules that accept a filter input (e.g. Block Trades). |
|
|
Set Contract as Link-Workspace Name - When checked, the name of your Window-Link and Trading type workspaces will automatically update with the formula of your currently selected contract. Also, you are only allowed to enter contract names when renaming these workspaces. If left unchecked, the default name will be loaded for newly created workspaces and you can rename them at will. Maximize the new internal frames - Newly created internal frames will automatically be maximized, occupying the entire workspace. Maximize the new external frames - Newly created external workspaces will be automatically maximized to fit the size of your screen. |

|
|
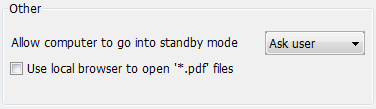
Allow computer to go into standby mode allows you to select one of the options: Ask user, Always or Never. Use local browser to open '*.pdf' files - Check this to use your system's default Internet browser to render the .pdf files, instead of using the application's default renderer. |
|
|
The Start Server Configuration Wizard button will launch a dialog that will guide you through the process of setting up your eINFOline and/or an Order Entry connection. In order to read more about this, please click here. |

|
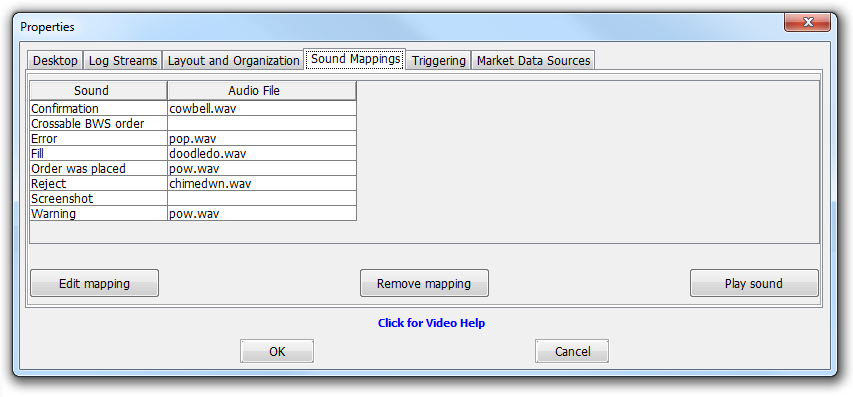
In this section you can set a sound to be played when notification dialogs show up in the application such as Error, Warning, Confirmation or Screenshot, as well as and Order Entry-specific dialogs like Fill, Reject and Order was placed.
The 3 buttons at the bottom of this tab allow you to select a sound file by clicking on Edit mapping, to clear the selected mapping by clicking on Remove mapping; listen to an already mapped sound by clicking Play sound.
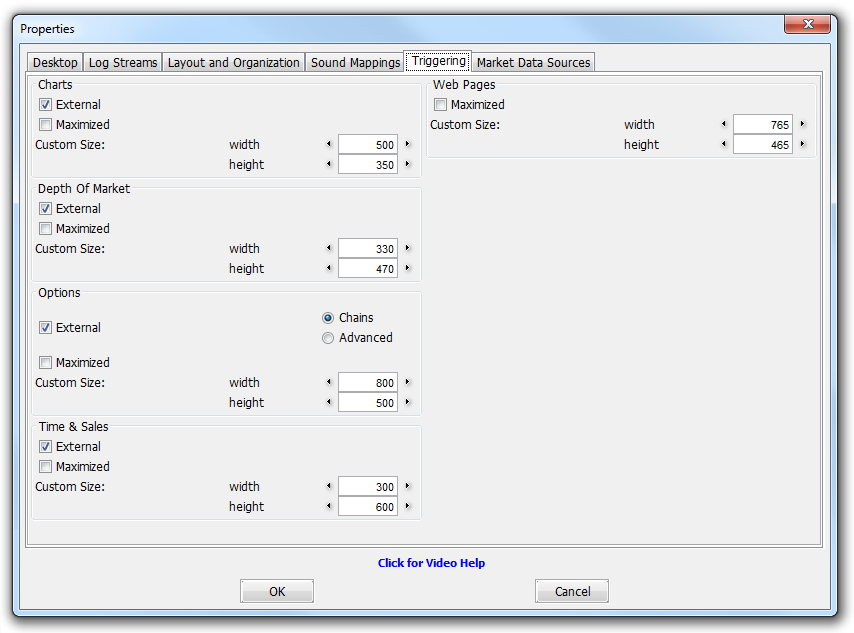
There are frame types that permit the user to launch other frames, which can be Charts, Depth Of Market, Options, Time & Sales or Web Pages. From this tab you can set the size and type of these frames.

This section controls the data source of various exchanges. These settings determine whether you get quotes in real-time or in some cases, if you get them at all. Some quotes are provided by the server (SRV), while others need to be validated by the Order Entry provider (OE). The source can be edited individually for each cell, but you can also right click anywhere in the table and simply select Set All To Default. Usually you won't need to edit anything in this section. In fact, it's recommended you don't overwrite any Data Sources unless instructed specifically by technical support. Data Sources are normally set automatically and overrides can cause loss of data or delayed quotes.